From the box to the map.
Eight steps, one phone, no tools. In about two minutes your GeoShake T1 will be a working seismic station, visible to everyone on the live map - and part of a network that gets faster with every device added to it.
Install the app
iPhone or Android, then sign in.
Place it
Solid floor, away from vibration.
Plug in
USB-C power. The light starts blinking.
Start Setup
In My Station. The app finds the device by itself.
Enter WiFi
Your network and password.
Link it
Device joins your account.
Place the pin
You choose the published spot.
Go live
Your station on the map.
Before you start
Four things. Gather them now and the whole setup runs without interruption.
The eight steps
Do these in order. Each step tells you what you should see before moving on - if you do not see it, the fix is right there.
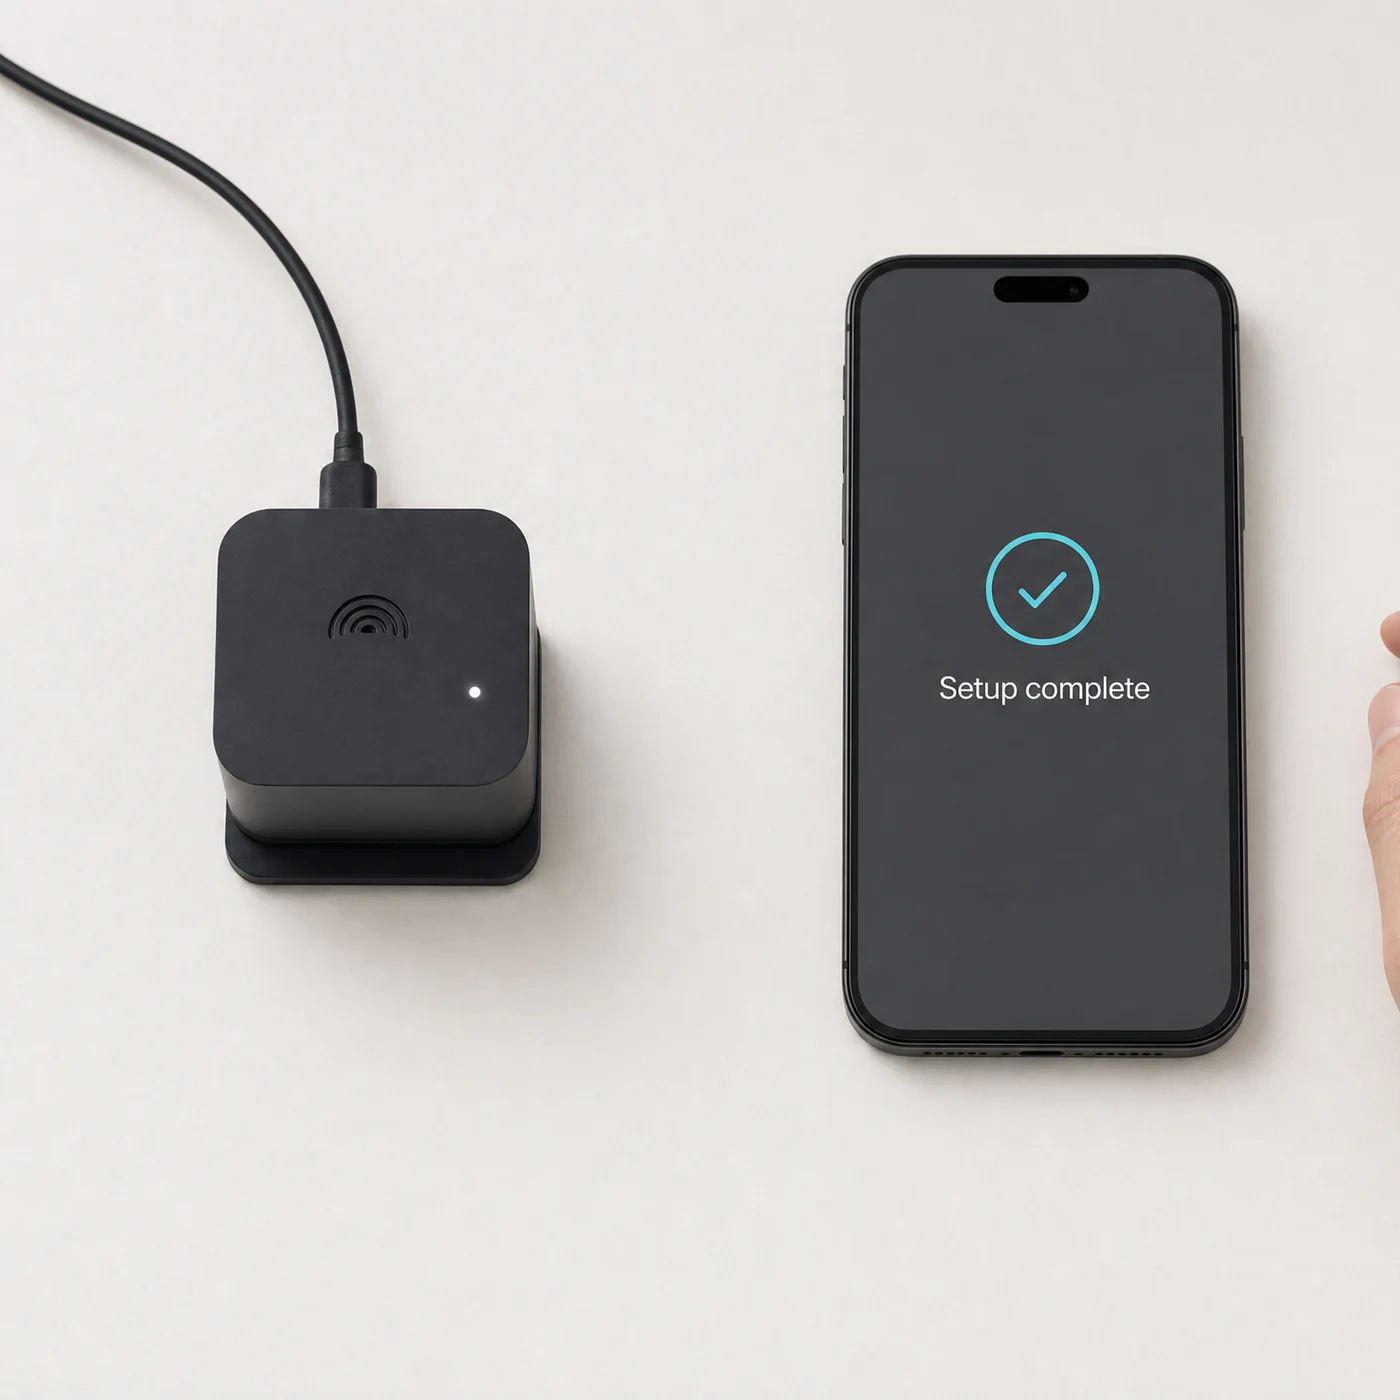
Install the GeoShake app and sign in
The app is how you set up the device, name it, place it on the map and receive alerts. It is free and you do not need a device to use it.


Create an account or sign in with Google or Apple. Use the account you want to own the device - this is the account your station will belong to.
Choose where it will live
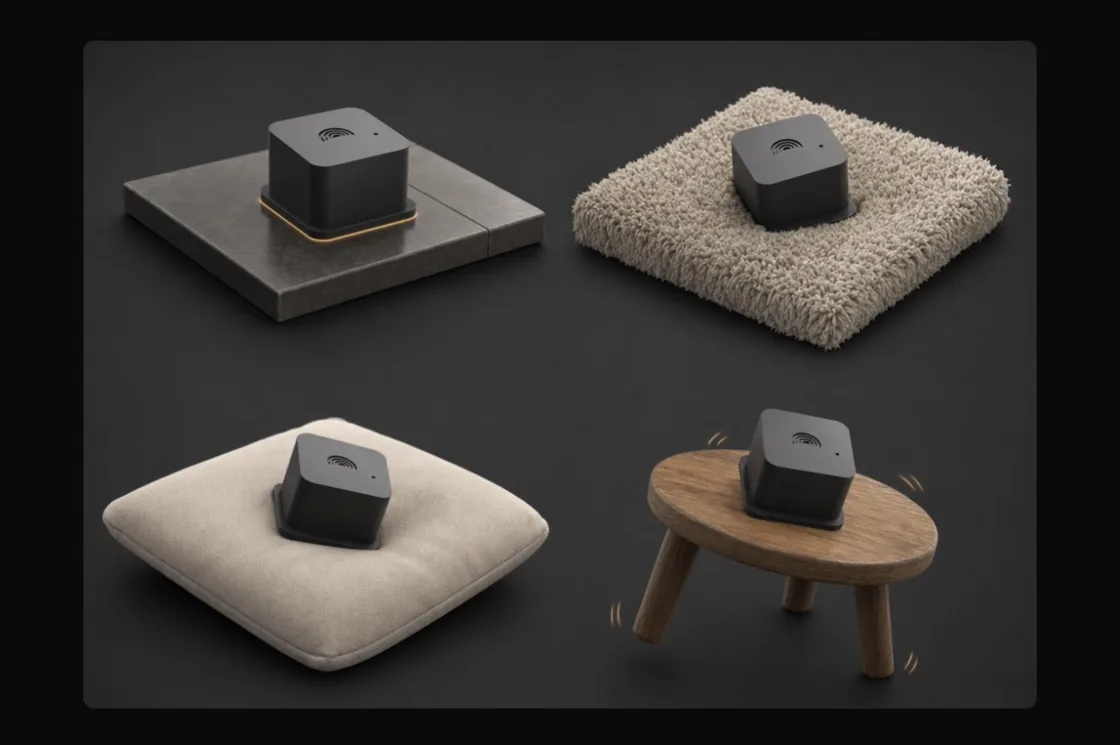
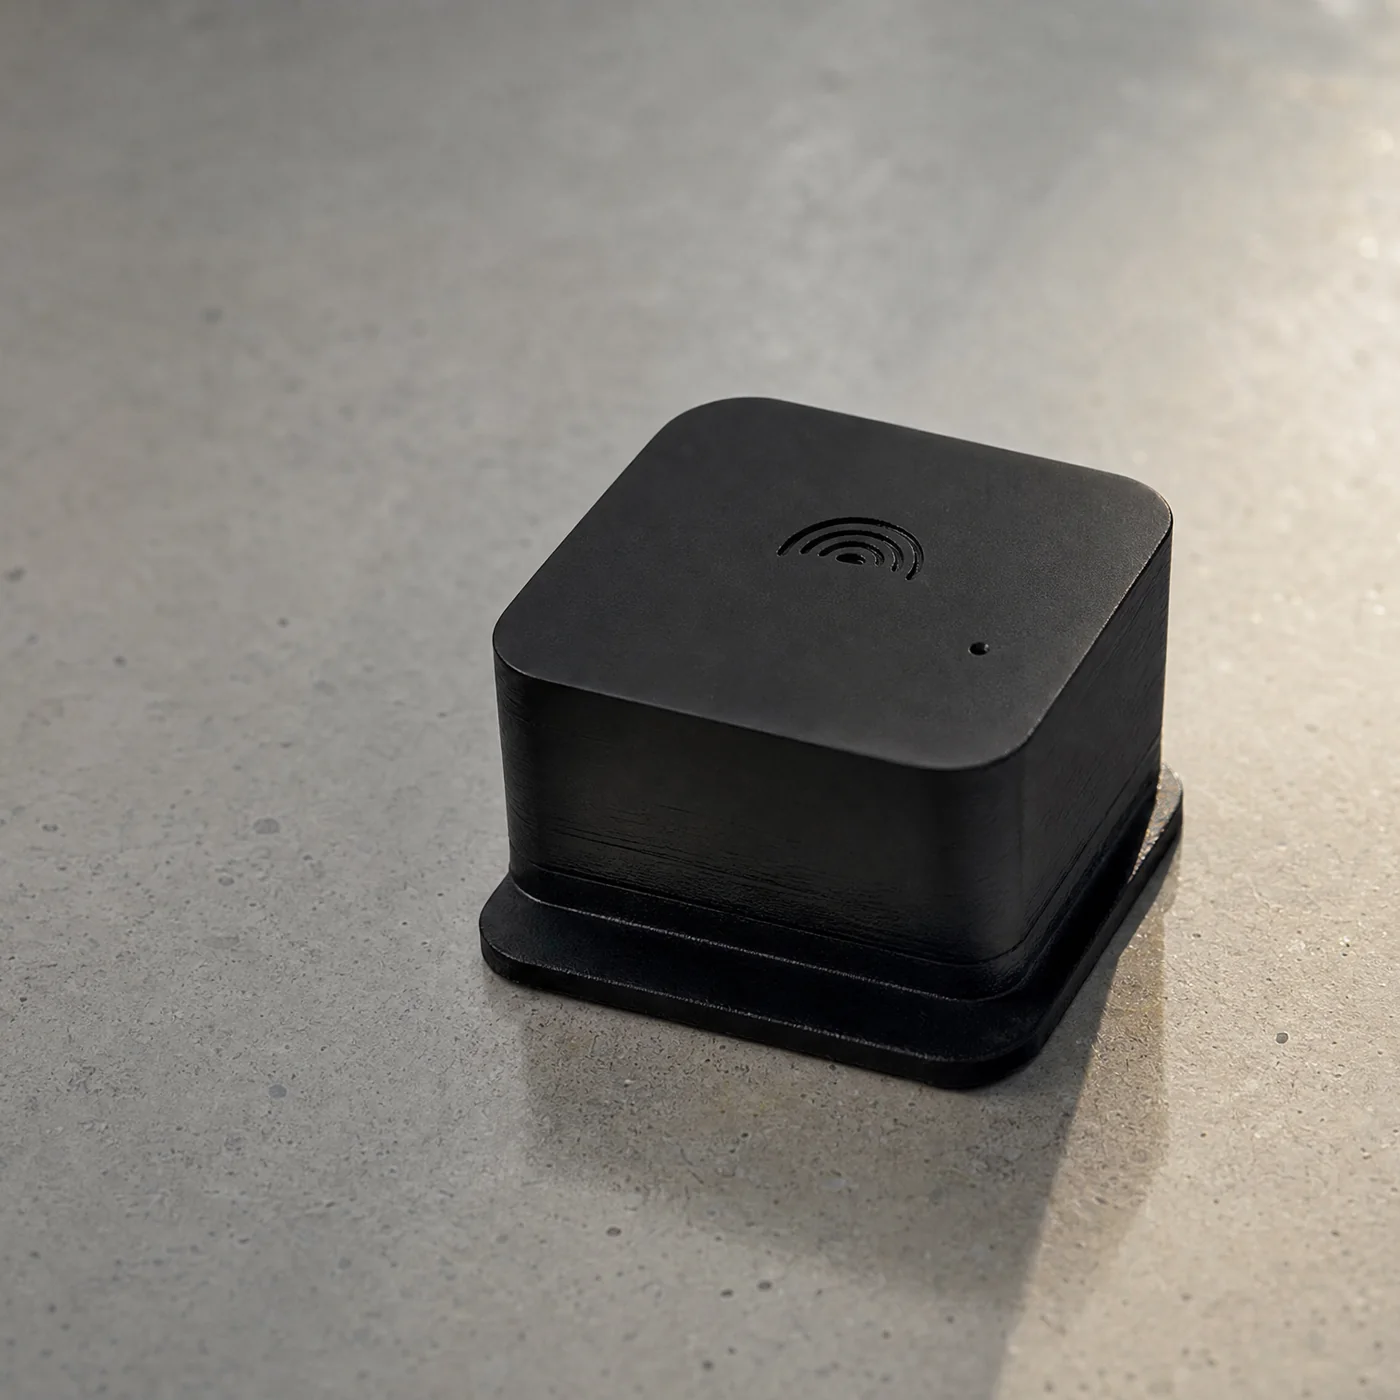
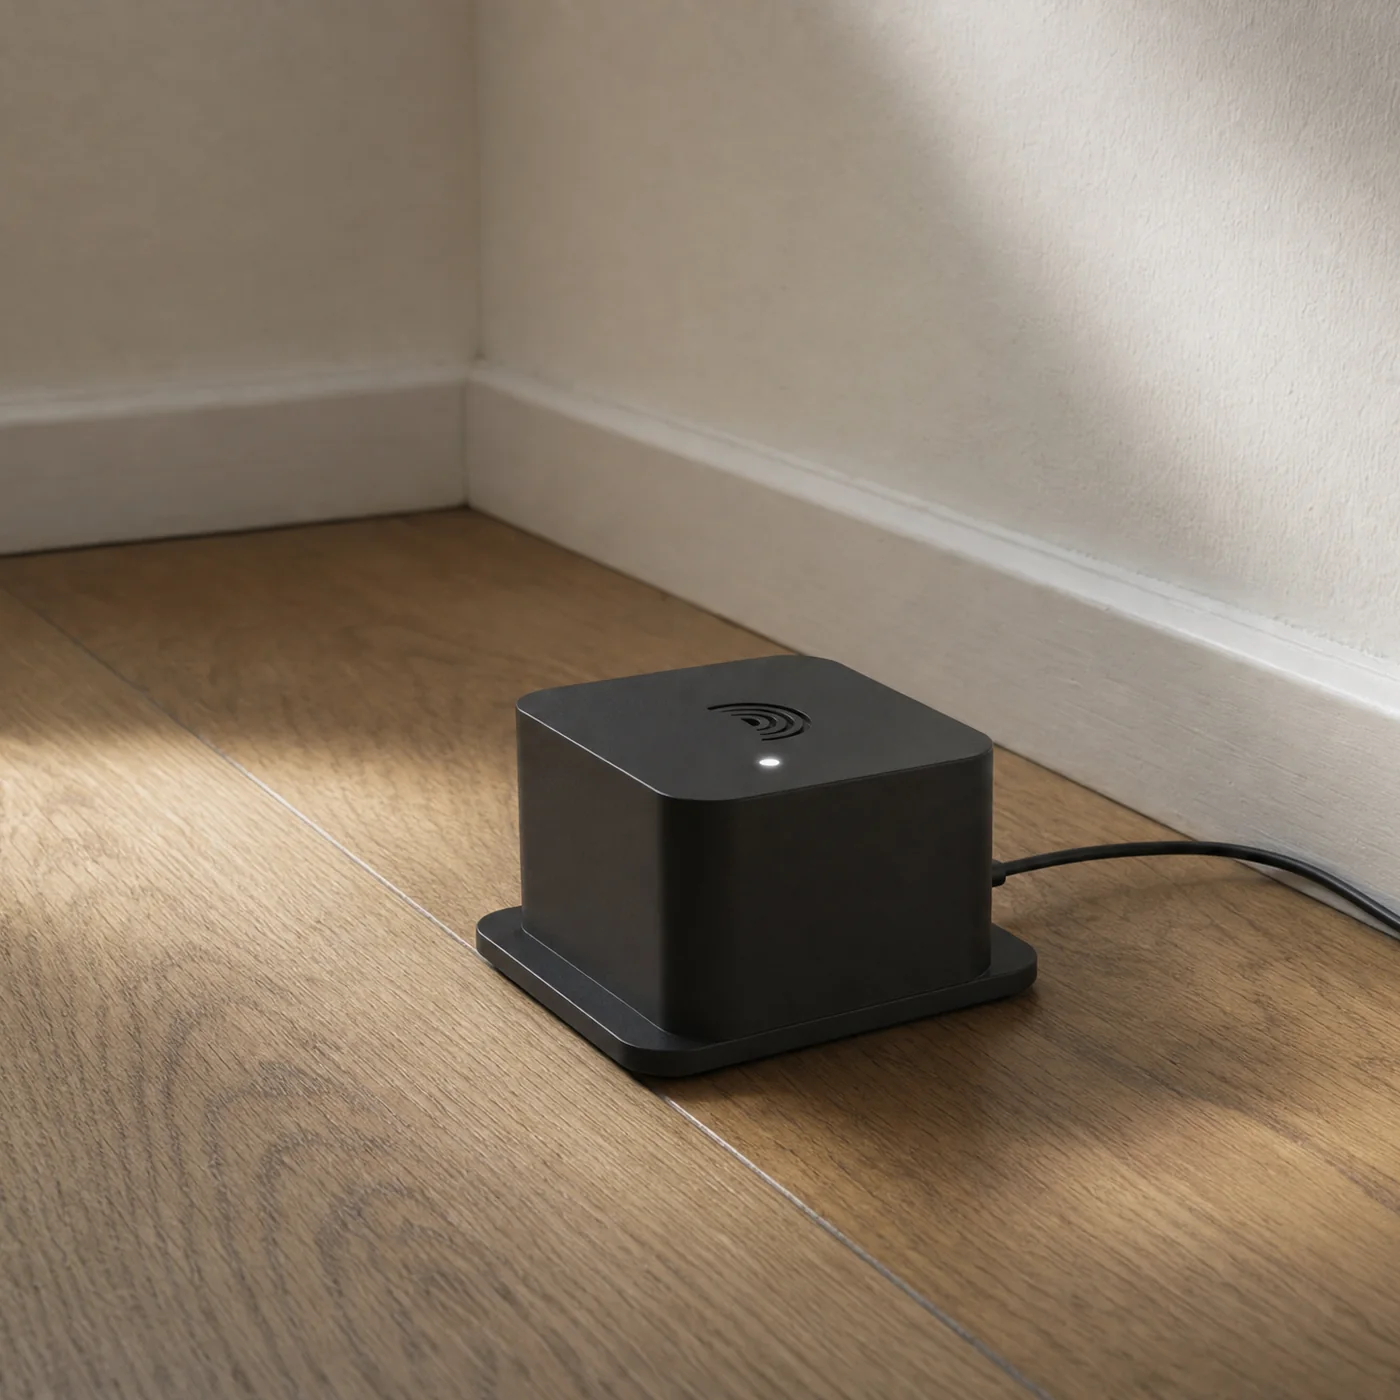
Put the T1 on a solid surface: the floor, a concrete step, a stone or tiled shelf. Not on anything soft, and preferably not on a desk or table. Keep it away from fans, pumps, washing machines and anything else that hums or vibrates. If there is no such spot on the floor, the mounting kit lets you fix it to a wall, but our recommendation is the floor, placed or mounted. Details in where to put your device.
Plug it in
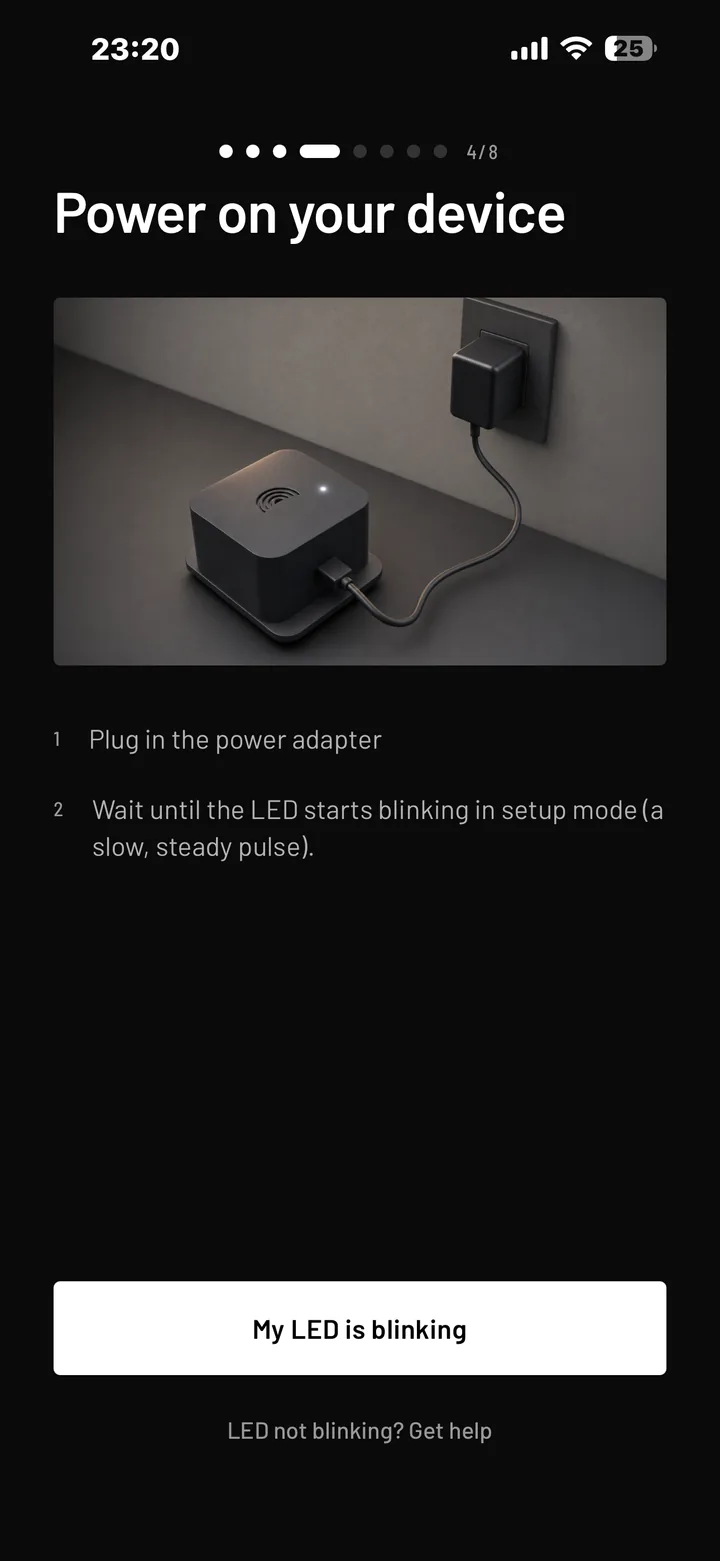
Connect the USB-C cable to the device and to power. Leave it somewhere convenient for now - you can move it to its final spot once it is online. Any USB-C phone charger works: 5 V / 1 A is the minimum, 2 A gives comfortable headroom.
If nothing lights up: try a different USB-C cable and a different power adapter before anything else. Charging-only cables and low-power USB ports on monitors and keyboards are the usual culprits.
Let the app find the device
Keep Bluetooth on. Open the app, tap My Station in the bottom bar, then tap Start Setup. Follow the screens: when it asks, confirm that the light is blinking, and the app scans for the device by itself and lists any GeoShake T1 that has not been set up yet. Setting up more than one? Each shows as GST1- plus the last five characters of its device ID, for example GST1-BH2JN, so you can tell them apart.
Tap your device in the list.
If your device does not appear: make sure Bluetooth and location permission are granted to the app, and stay within a few metres of the device. Still nothing? A device that is already set up stops advertising over Bluetooth on purpose - that is why a second setup attempt finds nothing. Use the WiFi fallback instead, which always works.
Enter your WiFi details
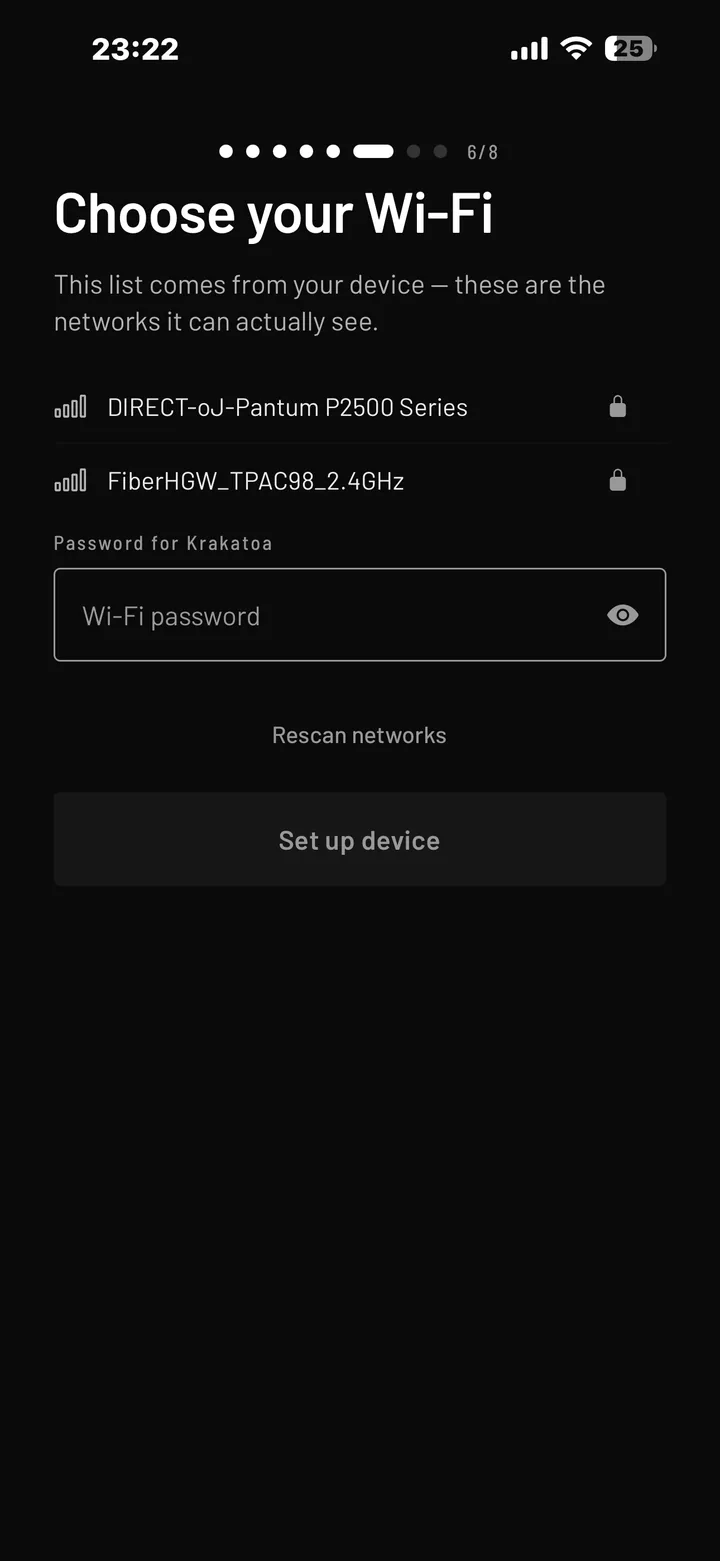
Pick your network from the list and type the password. Take your time with the password: the device tests the connection before it saves anything, so a wrong password means the step simply fails and you try again rather than ending up with a half-configured device.
If your network is not in the list: your router is probably broadcasting 5 GHz only. Enable the 2.4 GHz band in your router settings, or connect the device to a guest or hotspot network on 2.4 GHz. If the password is rejected: check for a stray space at the end, and note that passwords are case sensitive.
Link the device to your account
The app links the device to your account by itself, right after the WiFi step. Normally you type nothing.
If it asks for a claim code, type the ten characters printed on the device label. Spaces, dashes and lower case are all fine.
If the app says the device belongs to someone else: it was set up on another account before. Write to info@geoshake.org with the device ID and we will release it.
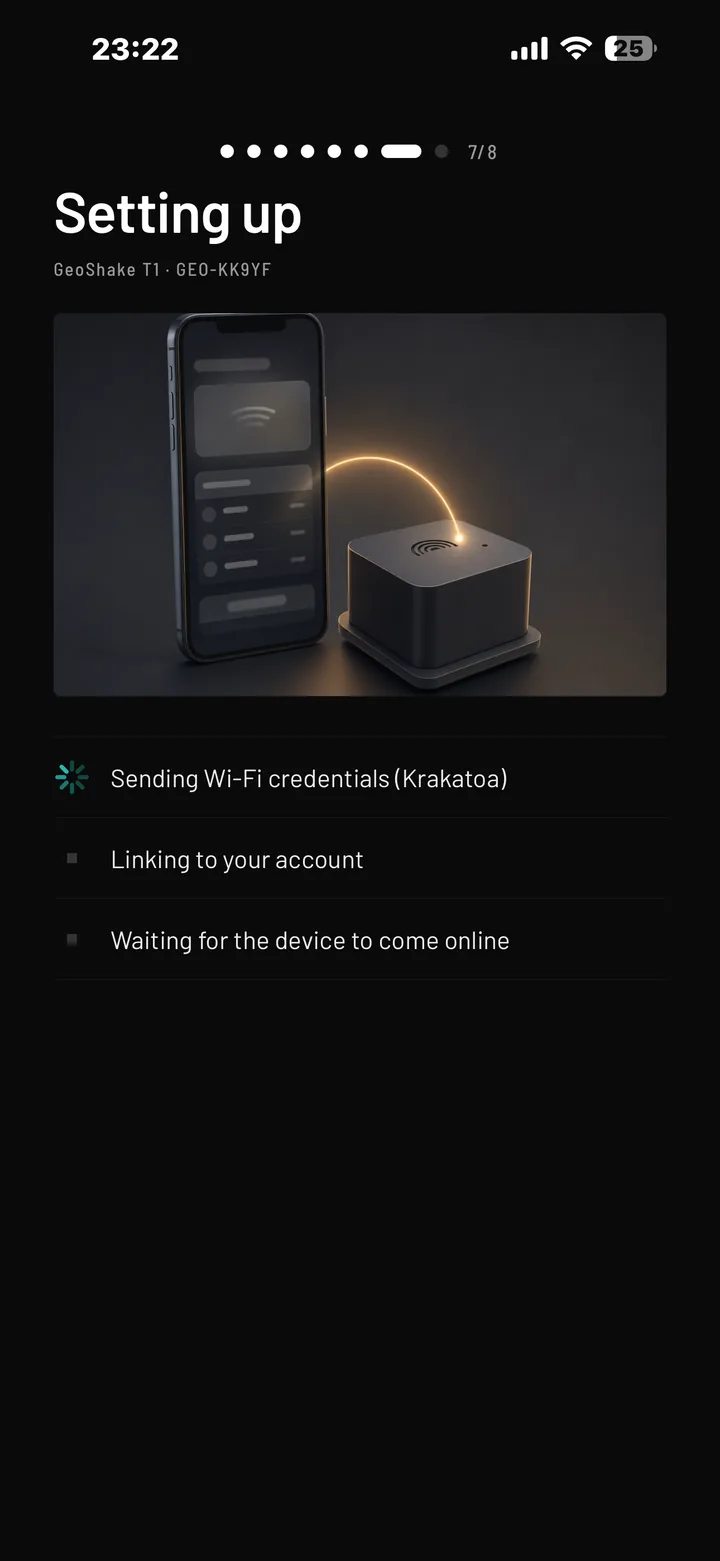
Place your location pin
The app shows a map centred on where your phone is, with a pin on it. Drag the pin to where the device actually is and confirm.
Do not skip this step. A station with no location set sits at a default point on the map that is nowhere near you, which makes its data useless for locating earthquakes - and location is the entire reason a seismic network works.
The published coordinate is the one you choose
Your station appears on a public map, and the only position it ever shows is the pin you place here. We do not publish your address, we do not derive your position from your phone or your IP, and we never reveal your account details next to the station.
We recommend picking a point near your home rather than on it - a nearby corner, a park, the middle of your street. Anywhere within a few tens of metres keeps the data scientifically useful while keeping your exact address to yourself. This is your choice to make, and you can change it any time from the app.
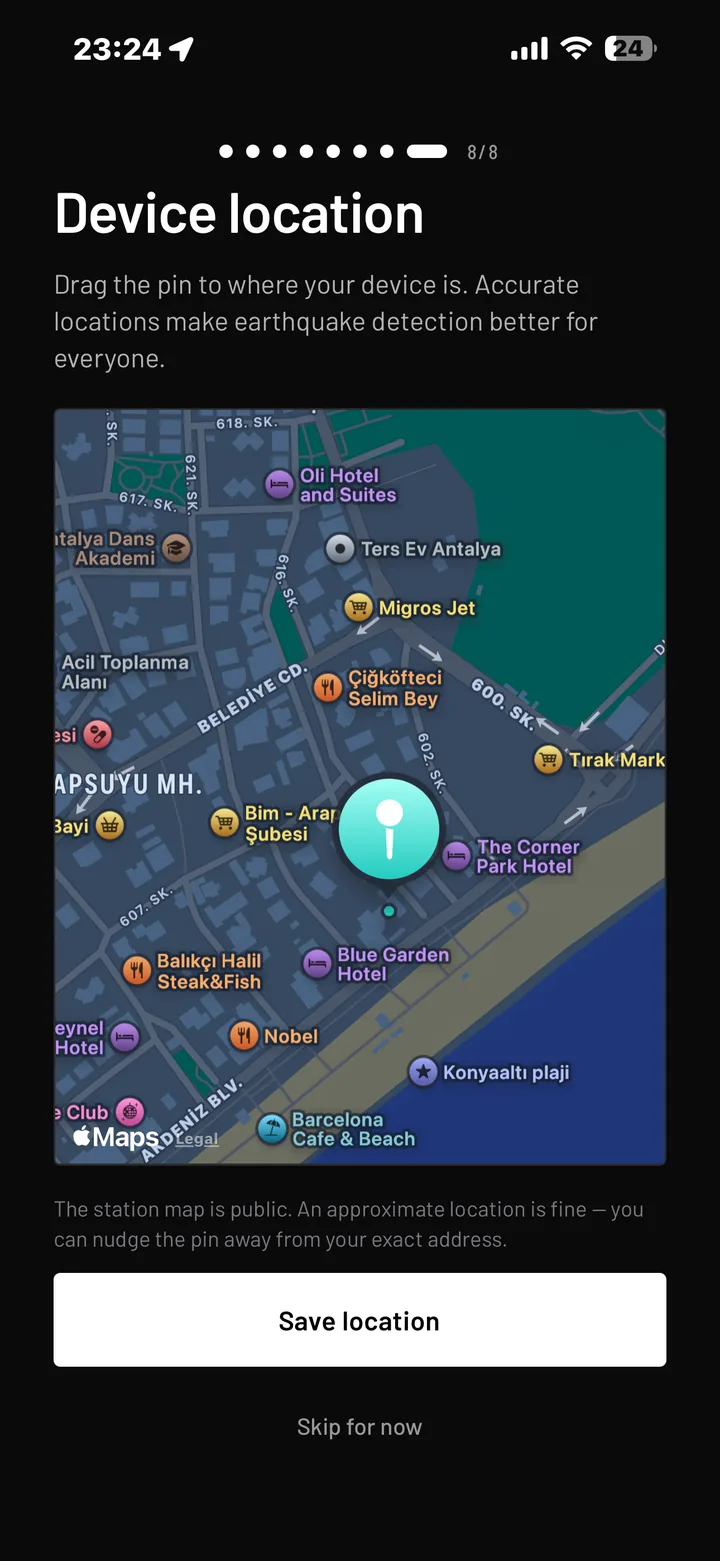
See your station on the map
Open map.geoshake.org and find your pin. This is the public map - the same view everybody else sees, with your station now on it.
Managing the device is a separate place: my.geoshake.org/devices, or the app. That is where you rename it, move its pin, or reconnect it to WiFi. The short version: the public map is where you look at your station, and My devices is where you change it.
A brand-new station can take a few minutes to appear the first time. If it is not there after five minutes, check the status light against the table below.
That is it. You are now part of the network. Move the device to its permanent spot whenever you like - if the new spot is more than a hundred metres away, nudge the pin in the app to match.
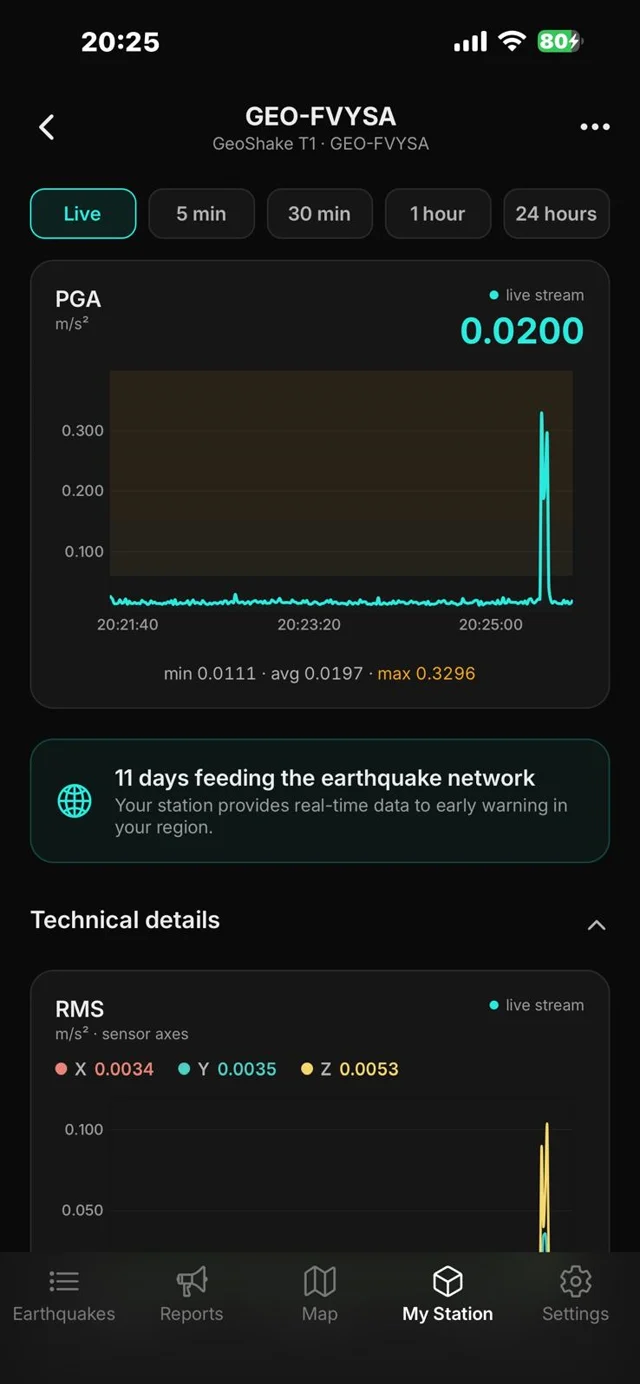
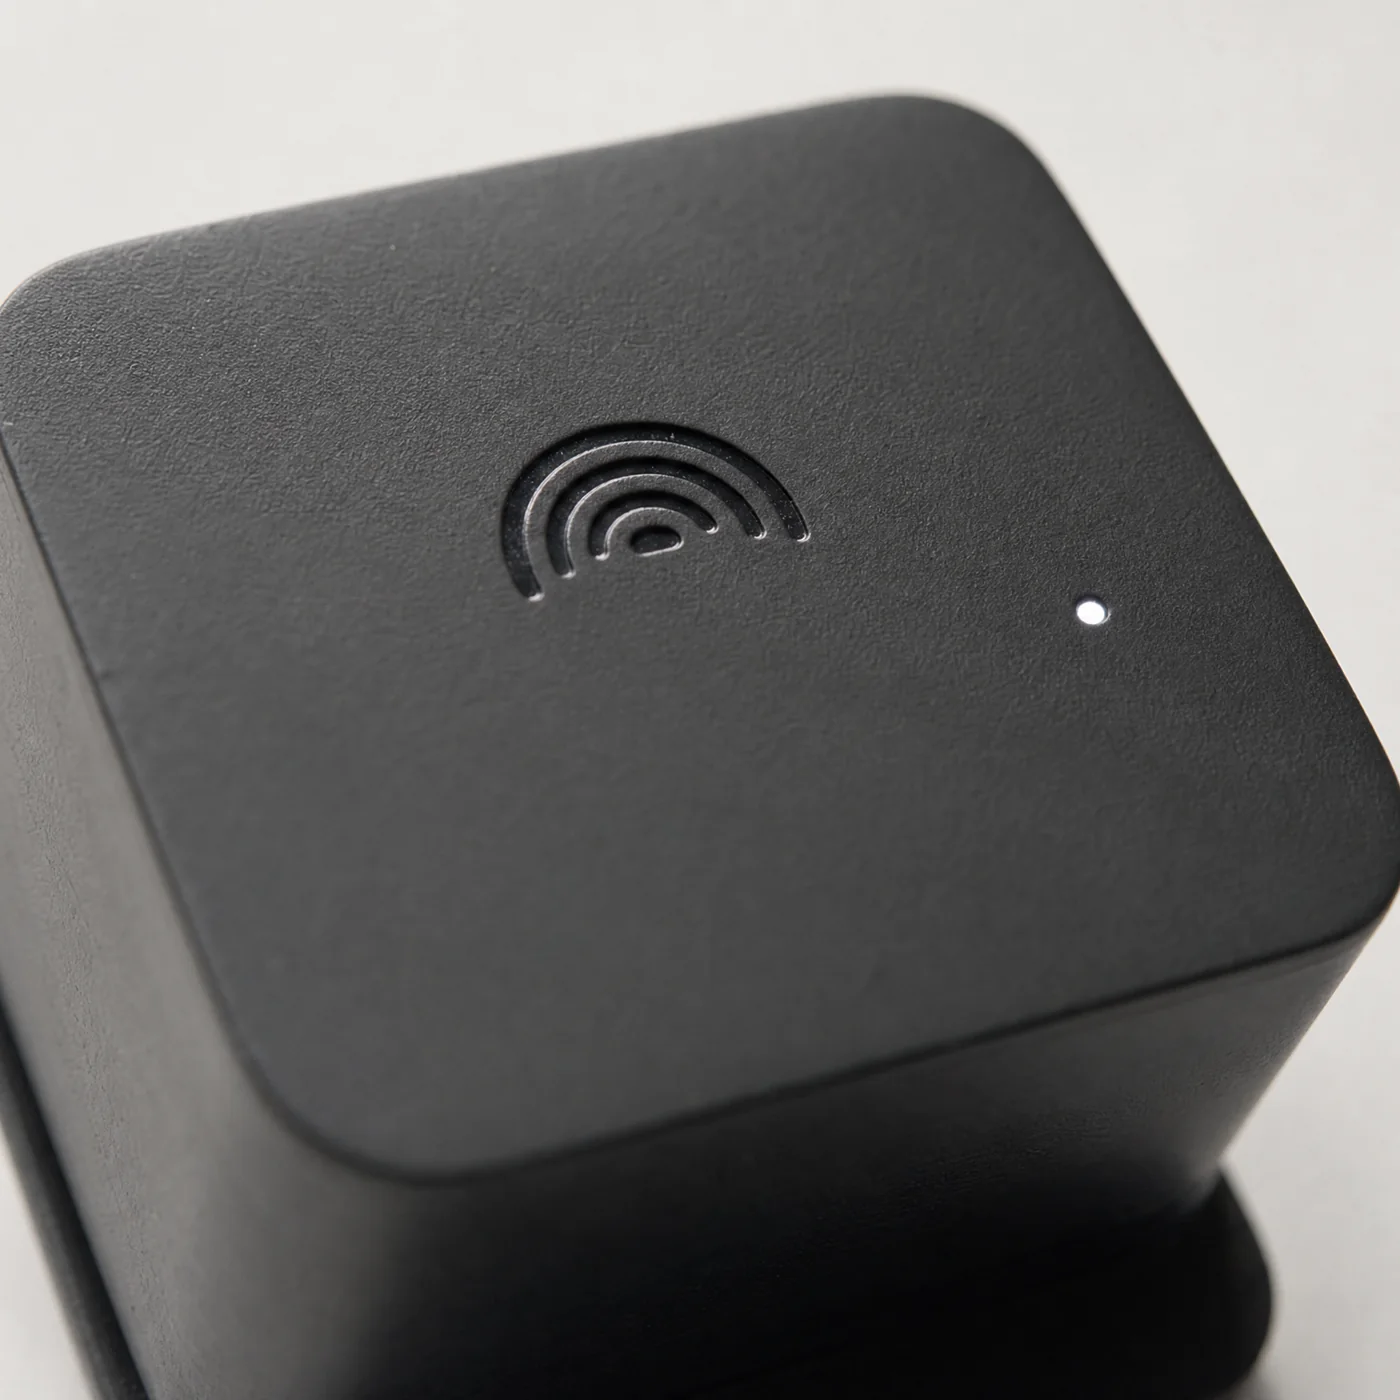
What the light is telling you
The GeoShake T1 has one status light, and it is the fastest diagnosis you have. Read the pattern, not just whether it is lit.
| What you see | What it means | What to do |
|---|---|---|
| Connected and working | ||
| Slow soft pulse, fading in and out every ~3 seconds | Everything is working. Connected to your WiFi and reporting to the network. | Nothing. This is the state you want. |
| Steady bright for two to three seconds, then back to the pulse | It felt something. The device detected ground motion above its threshold. Footsteps, a slammed door and a passing lorry all do this - one bright flash is not an earthquake. | Nothing. If it happens constantly, move it somewhere steadier - see mounting. |
| Completely dark | Either the light is switched off, or there is no power. The normal pulse can be switched off for a device that lives in a bedroom; the warning patterns below still show even then. | If nobody switched it off, check the cable and the adapter. The app shows whether the station is online either way. |
| Connection problems (a device that was already set up) | ||
| Blinking twice a second | Cannot reach your WiFi. It has lost your network and is trying to reconnect: router off, password changed, or too far from the router. A brand-new device shows the same blink while it waits for setup - see the next group. | If it was working before, see station offline. If it has never been set up, run steps 4 to 7 above. |
| On for two seconds, off for two seconds, hard on and off | On your WiFi, but cannot reach our server. Your internet connection is down, or the problem is on our side. The device is healthy and reconnects by itself. | Check whether other devices at home have internet. If they do, the problem is on our side: nothing to do, it comes back on its own. If it lasts for hours, write to info@geoshake.org. |
| Very fast hard flicker, about seven times a second, continuously | The device failed its own start-up self-check. Rare, and it means the readings cannot be trusted. | Unplug it, wait ten seconds, plug it back in. If the flicker returns, contact info@geoshake.org. |
| Setup and identity | ||
| Blinking twice a second | Waiting for setup. This is how every device arrives from the factory and how it comes back after a reset; it is not a fault. It looks exactly like the "cannot reach your WiFi" blink above - the only difference is whether the device is new or was already set up. | Open the app and run steps 4 to 7. Not sure which of the two it is? Look at the WiFi list on your phone: a network called GeoShake-XXXX means it is waiting for setup. |
| Fast blinking, about five times a second | Collecting its identity. The device is registering itself with our servers. This lasts a few seconds and it restarts on its own afterwards. | Nothing. Let it finish. |
| Two short flashes, then a long dark gap, over and over | No identity stored. You should never see this on a device that came from us: the board left the factory without its identity, or lost it, and it cannot join the network in this state. | Contact info@geoshake.org. This one needs a USB repair - it cannot be fixed over WiFi. |
If something does not go to plan
These four cover almost everything people write to us about.
The app cannot find the device
Every GeoShake T1 offers a second, independent way in that needs no app and no Bluetooth at all. It works from any phone, tablet or laptop:
- Unplug the device, wait five seconds, plug it back in.
- Open the WiFi settings on your phone or laptop and look for a network called GeoShake- followed by four characters, for example GeoShake-7A2F. It has no password.
- Join that network. A setup page usually opens by itself, the same way a hotel WiFi login page does.
- If it does not open on its own, type 192.168.4.1 into your browser's address bar.
- Enter your WiFi network name and password on the page and submit it.
The device restarts and joins your WiFi. Your phone will drop back to its normal network on its own. Then open the app and add the device with the claim code from its label to finish linking it to your account.
The GeoShake- network only exists while the device is waiting to be set up. Once it is on your WiFi, that network disappears - which is also why it is not a security concern.
My station shows as offline
What it means: your station has not reported to the network for several minutes. It does not mean the device is damaged, and no data you have already contributed is lost.
A light that keeps blinking means the device has power but cannot reach the network - nothing more specific than that. Work through these in order; the first two account for the great majority of cases:
- Is it still powered? Look at the status light. No light at all means no power: check the cable, the adapter and the socket. A switched socket that someone turned off is the single most common cause.
- Is your internet working? Check that another device in the house can reach the internet. If the router restarted, the GeoShake T1 reconnects by itself, usually within a minute or two.
- Did the WiFi password or network name change? The device still holds the old details and cannot connect. Run setup again from the app to give it the new ones.
- Is it actually waiting to be set up? Open the WiFi list on your phone. If you can see a GeoShake-XXXX network, the device has no WiFi details at all and is waiting for setup - moving it will not help. Run setup again from the app.
- Is it too far from the router? Only if none of the above applies is a weak signal likely. Move it closer to the router or a mesh point and watch for the slow pulse.
A station that comes back online rejoins the map automatically. If the light shows the healthy slow pulse but the map still says offline after fifteen minutes, that is worth an email to info@geoshake.org - include your device ID.
My WiFi network does not appear during setup
The GeoShake T1 connects to 2.4 GHz WiFi only. This is not a limitation of the device so much as a deliberate trade: 2.4 GHz travels further through walls and floors, which matters for something that lives on a basement floor.
Nearly every home router broadcasts 2.4 GHz and 5 GHz at the same time. If your network is missing from the list, one of these is usually true:
- Your router has 2.4 GHz turned off, or is a 5 GHz-only mesh node. Turn 2.4 GHz on in the router settings.
- Your router combines both bands under one name and is steering the device to 5 GHz. Temporarily splitting the bands into two names solves it.
- The network is hidden. Enter the name manually.
A phone hotspot set to 2.4 GHz also works if you just want to get the device online and confirm it works before dealing with the router.
I want to move the device, or set it up again from scratch
Moving it around the same home needs nothing at all - unplug, move, plug back in. If it moves more than about a hundred metres, open the app and drag the location pin to the new spot so the map stays truthful.
Moving it to a different WiFi network means running the setup again from the app, so the device learns the new network name and password.
The device stays linked to your account through all of this. You do not need the claim code again unless you are transferring the device to somebody else - see giving or selling the device under Common questions.
Where to put your device
This decision affects your data more than anything else you do. A sensor measures whatever the surface under it is doing - so the question is which surface tells the truth about the ground.
Good, better, best
| Placement | Why |
|---|---|
| Concrete floor in a basement or on the ground floor, against a load-bearing wall | Best. As close as a home sensor gets to the actual ground. Quiet, stable, and the readings are genuinely comparable with professional stations. |
| Any solid floor, at the edge of the room rather than the middle | Good. Floors flex least where they meet the walls. Corners of rooms on lower storeys are noticeably quieter than the centre of a span. |
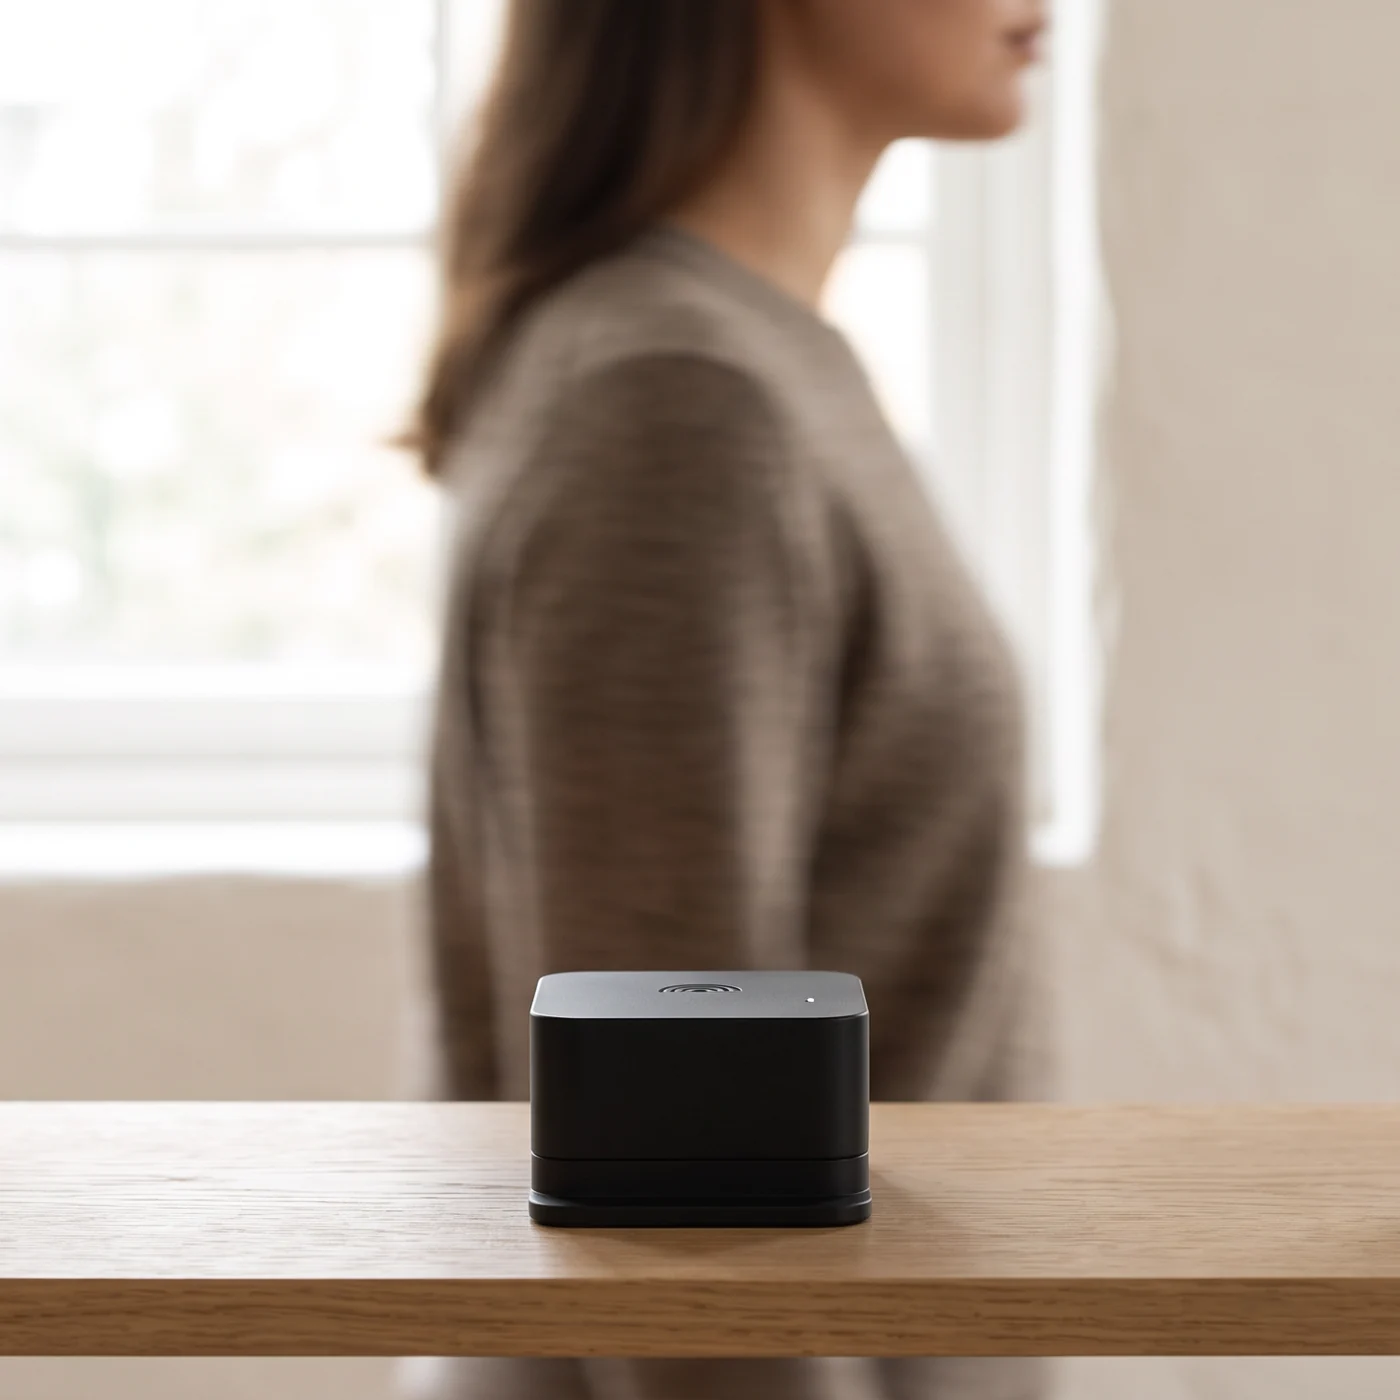
| A shelf, a desk, a cupboard, a bookcase | Avoid. Furniture has its own wobble. Every time somebody walks past, the sensor records that instead of the ground. |
| Upper floors of a timber-framed building | Workable, but noisy. The building amplifies footsteps and doors. Still useful to the network - just expect more false movement. |
A few practical things
- Flat and level, on its base. The device does not need bolting down, screwing in or gluing. Its own weight on a hard floor is enough.
- Away from the washing machine. Also fridges, tumble dryers, boilers and air conditioning units. Anything that vibrates on a cycle is a constant source of noise.
- Out of the sun and away from radiators. Big temperature swings show up in the readings.
- Leave it plugged in. A seismic station is only useful when it is running. The value of the network comes from stations that are simply always there.
Everything else
Once your station is live, this is where the rest of GeoShake is documented - from smart home alerts to raw seismic data streams.
Smart home integrations
Make your home react to a confirmed earthquake - Smart Life / Tuya, Home Assistant, Apple Home and Google Home.
Read the guide →Developer portal
API keys, endpoints and the live event feed for building on top of the network.
Open the portal →Source code
Firmware, enclosure designs and the tools that run the network. Open source.
View on GitHub →Seismic data access (FDSN & SeedLink)
Standards-compliant access to waveform data for researchers and institutions.
Open →Using GeoShake with jAmaSeis
Connecting a station to classroom and educational seismology software.
Open →Data licence & reuse
What the network's data may be used for, and how to cite it.
Open →Common questions
Does GeoShake publish my home address?
No. The only coordinate ever published is the pin you place yourself during setup, and we recommend placing it near your home rather than on it. Your name, email and account details never appear on the public map.
How much internet does it use?
Very little - under about 5 MB a day, comparable to a single email with an attachment. Any broadband connection or mobile hotspot is more than enough.
Will it alert me when there is an earthquake?
Yes - the app sends alerts for events the network confirms, and you can set how close an event has to be before it notifies you. Treat these as a helpful extra layer rather than an official warning: always follow your national authority for emergency instructions.
Do I need to keep the app installed?
The station runs on its own and keeps reporting whether the app is installed or not. You need the app for setup, for alerts, and for changing your station's name or location.
What happens during a power cut?
The device stops reporting and the station shows as offline. When power returns it reconnects on its own and rejoins the map, with no action from you. If you want it to keep running through outages, a small USB power bank between the socket and the device works well.
Can I set up more than one device on one account?
Yes, as many as you like. Repeat the setup for each one - the last five characters of the Bluetooth name tell them apart - and give each a name you will recognise.
I am moving house, or taking the device to a different WiFi
Same home, same WiFi: unplug, move, plug back in. If it moves more than about a hundred metres, drag the location pin in the app.
A different WiFi network: the device needs the new name and password. The tidy way is to do it before you leave, while the device is still connected. Sign in at my.geoshake.org/devices and press Reset Wi-Fi. The device restarts into setup mode - light blinking about twice a second, a GeoShake- network visible - and you can unplug it. At the new place, plug it in and run the setup from the app as you did the first time, then drag the pin to the new spot.
If the device is already at the new place, plug it in and wait. It tries the old network for three minutes, then opens Bluetooth and the GeoShake- network for five minutes, then restarts and tries again. Do the setup inside that five-minute window, and do not power-cycle it while you wait: each restart begins the three minutes again.
The device stays linked to your account throughout. Its ID and its history do not change.
I want to give or sell the device to someone else
Ownership is a link between a device and an account. The device ID (GEO- followed by five characters) never changes, and neither does its claim code. A transfer is two steps, one for each of you.
You, before handing it over: with the device plugged in and online, sign in at my.geoshake.org/devices and press Remove. This takes the device off your account and also clears its WiFi, so it restarts into setup mode: light blinking about twice a second, GeoShake- network visible. Once you see that, unplug it. Removing is only possible from the website, not from the app. If the device was offline when you pressed Remove, it keeps the old WiFi; the new owner then uses the three-minute wait described in the question above.
The new owner: installs the app, creates an account, plugs the device in and runs the setup with their own WiFi. The device links to their account automatically. If the app asks for the claim code, it is the ten-character code on the device label - the same code for the life of the device. Then they place the pin on the map.
A device that is still linked to an account cannot be claimed by anyone else. If you bought a used device and the app says it is already claimed, email us with the device ID and we will release it. The station's history stays with the device, not with the account.
Still stuck?
Tell us what the status light is doing and what step you reached - that is usually enough for us to answer in one reply.
One more station makes the network faster.
Every device that comes online shortens the warning for everybody around it.